The Homemade Server Rack Project
Follow my progress as I build and implement my homemade server rack
When I first started this project, I wasn't totally sure what the end result was going to be. I did know one thing though: I wanted some type of server rack in my house. The first step was to obtain the "servers". So, I started watching ebay for lots of computers. I found a lot of five desktop style computers that were located about an hour away. This meant that I could have four in the rack and an extra one just in case something went wrong. The next step would be to purchase a keyboard/mouse, a KVM switch and a network switch/hub. I found a mini keyboard that has a built in touchpad that would fit perfectly on the sliding shelf that I built. The first KVM switch that I bought was cheap and I got what I paid for. It was a piece of junk! I decided that I really wanted a nice one with lots of different features. I ended up getting a nice one from CablesToGo.com. For network connectivity, I started off with a 16 port hub. It was overkill, but it worked. Later on, I ended up buying a 5 port switch. It was a lot smaller and much more quite because it didn't have any built-in fans.
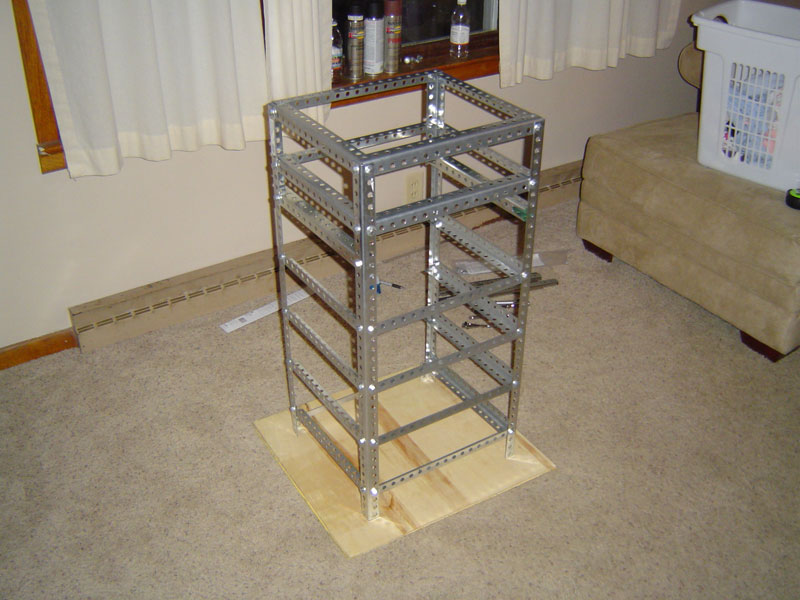
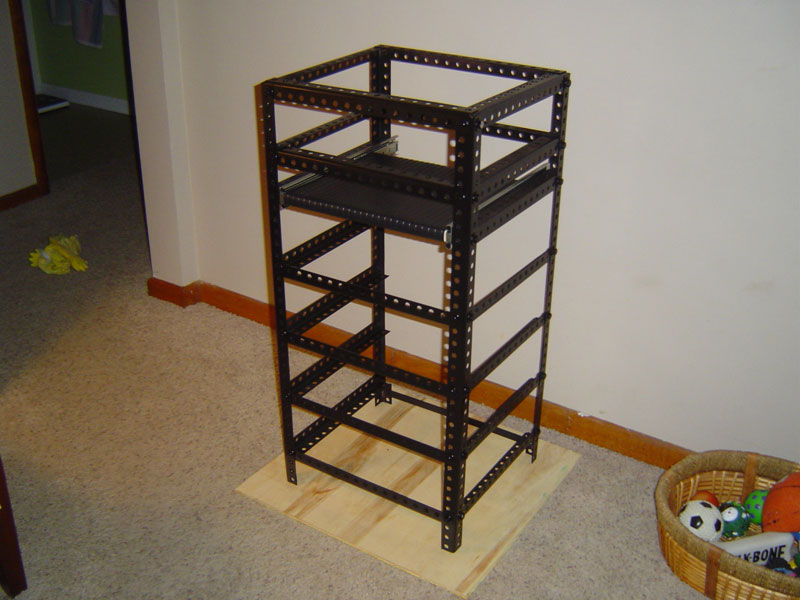
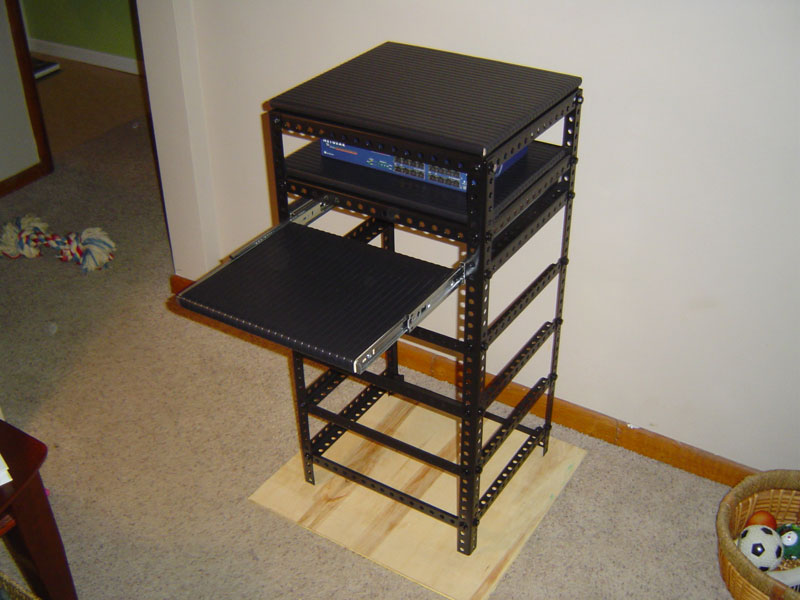
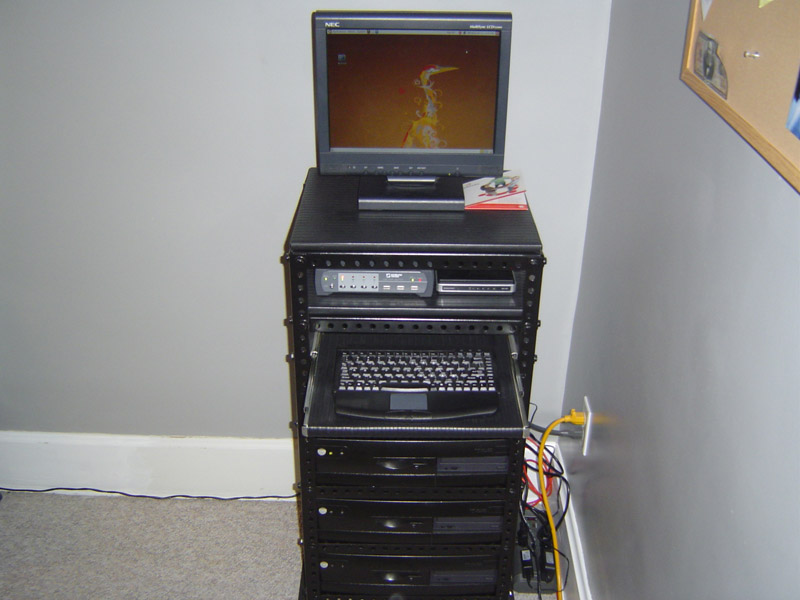
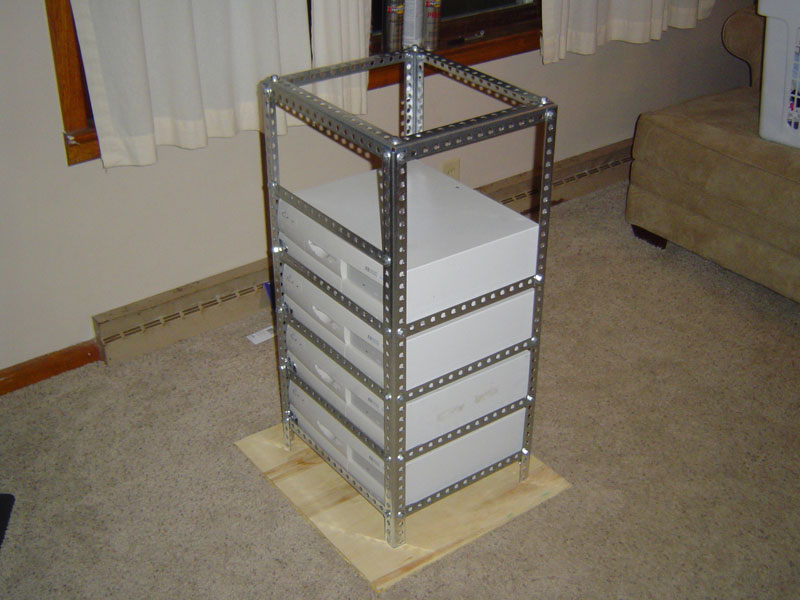
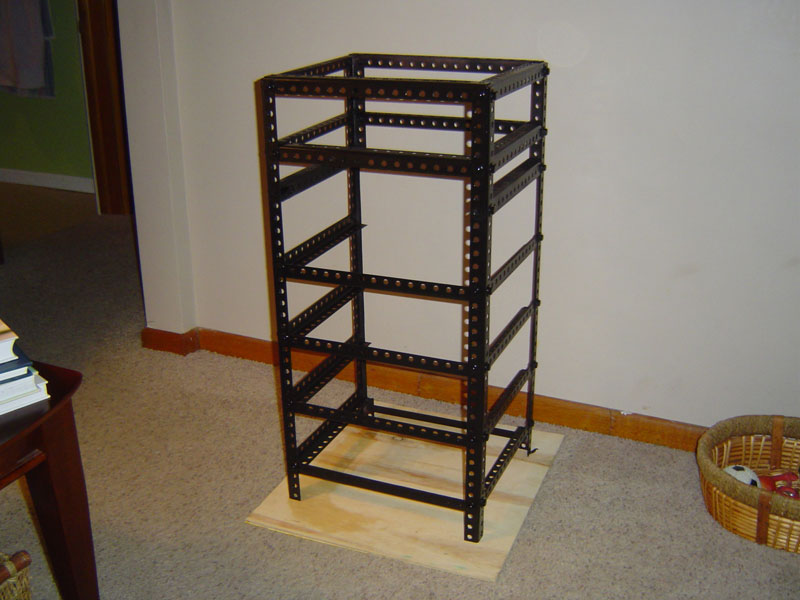
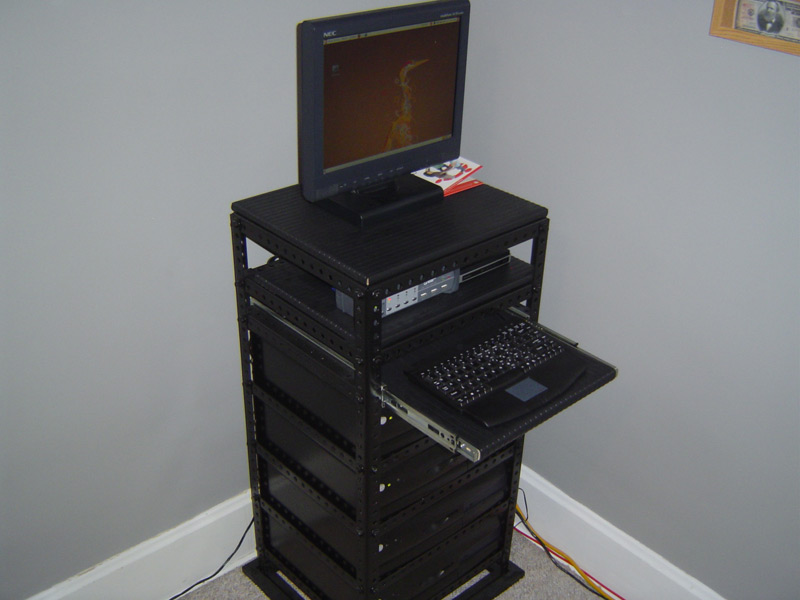
Now that I had the machines, I needed to build some type of rack structure that would house all four computers and all the components. I had a basic plan in my head after browsing around at Lowe's for awhile. The rack would be made from perforated angled steel. It was perfect because the holes were already in place so bolting it all together would be easier. It was just like the Erector Set that I had as a young kid. You can see in image #1 how I started. As I built more levels, it started to take shape. After the four computer levels were done, I had just enough room for a keyboard/mouse sliding tray and another level above that for the KVM switch and the network switch. The shelves were made of wood and covered in a rubber mat material. The monitor would sit on the top of the rack. I didn't attach the shelves to the rack, so that I could remove them if I wanted. Images #5 through #7 show the shelves.
Once the rack was built, painted and ready to go, the next step would be to prepare the computers for their transformation into servers. I wanted all the hardware to be identical. The hard drives were old and not very big, so I ordered four matching 20GB drives. The machines only came with 128MB of RAM so I upgraded them all to 256MB of matching RAM. The CD ROMs also needed an upgrade. After all the hardware upgrades were in place, it was time to make the computer cases black. I used steel wool to scuff the surface a little and then just used black spray paint.
After all the minor hardware issues had been resolved, it was time to load the operating system. I decided to use Ubuntu at first and see how that went. I was familiar with Ubuntu and I figured that it would be a good place to start. I started with one machine and actually got a shared folder set up and I could access it from my machine. I didn't have much experience with Linux in general, but I'm good at figuring things out. I played around with it for awhile, but because of everything that was going on in my life, the server rack project got put on hold. After moving into a new house and having a little more free time, this project is back in full effect.
I've started working on the server rack again and my goal is to setup a high availability cluster using two of the machines. "This topology provides a highly available service with minimal hardware requirements." That's perfect for me because the computers are old and slow. When I figure that out, I'd like to expand that to a high availability and load balancing cluster. "This topology provides a highly available and load balanced service. A minimum of 4 nodes is required for this topology." This type of setup is the overall goal of this project. I know this might seem like overkill just to have a shared folder that I can access from my main computer, but it's just to see if I can do it.
Examples:
Current Hardware Specs:
- 4 Computers
- Keyboard w/ touchpad
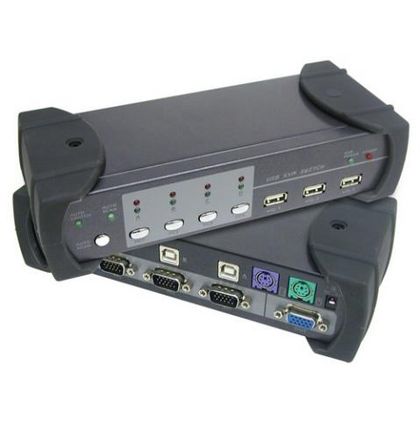
- Port Authority2 4-Port VGA/USB 2.0 and PS/2 KVM Switch
- D-Link DES-1105 5-Port 10/100 Desktop Switch
- NEC MultiSync LCD1550M
Useful Links:
- The High Availability Linux Project
- A Basic Single IP address Configuration
- Ultra Monkey - High Availability: Single Virtual Service
- Ultra Monkey - High Availability and Load Balancing
- Setting Up Samba On Ubuntu
- DRBD, developed by PhilippReisner and LarsEllenberg
- DRBD-Enabled Applications

